Introduction
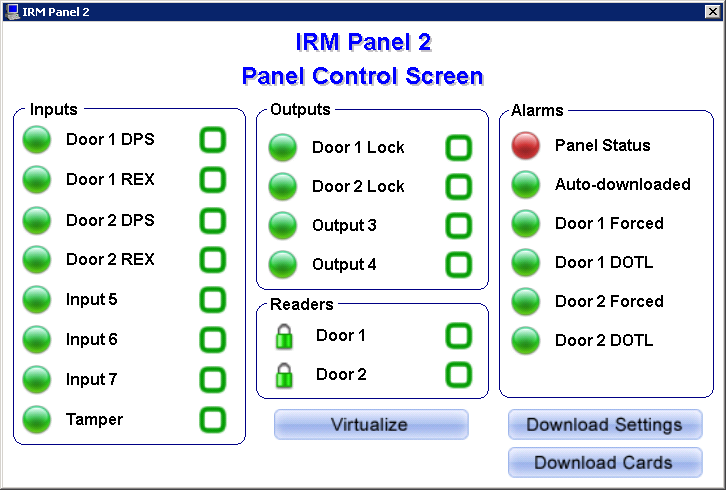
This is an example of the Compass Panel Status screen that was developed for Intelli-Site CS. It shows all status points for an IRM, IIM or IOM. The following describes the procedure to incorporate this screen into a project in Intelli-Site GS or ES.

Procedure
Steps to Add the Compass Panel Status Screen:
The Compass Panel Status screen is a popup screen. To use it you must add the screen based on the desired Compass panel and then create a link, usually a button, to pop up the screen during Run Mode.
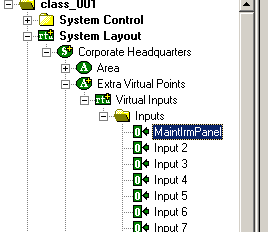
- Since the screen has a button to virtualize the panel, a virtual point must be created and added to the properties of the panel. We suggest that the virtual point be renamed to easily identify which panel the point is associated with. For information on Virtual Points see What are Virtual Points and how do I use them?.
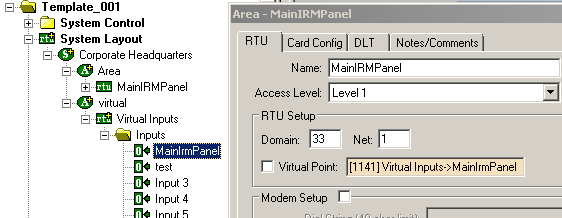
- Assign (drag and drop) that virtual point to the "Virtual Point:" on the "Properties..." page for the desired panel.
- Right-click on that panel in the tree and select "Create Screen". This will create a screen under the Screens node in the tree. The name of the screen will be the name of the panel.
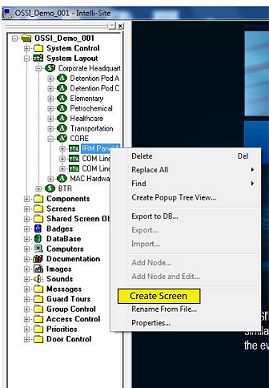
- To use the popup screen, add a screen button with an action of "PopUpDialog" and drag and drop the screen into the target field.

Levels are part of the default definition for the Compass Panel Status screen
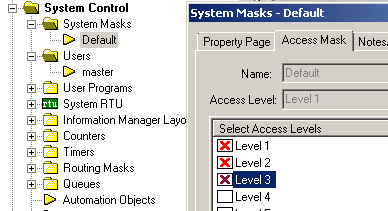
By default three of the buttons on the Compass Panel Status screen have different access levels from the rest of the elements on the screen. The majority of the elements are Access Level 1. Two buttons, Download Settings and Download Cards, are set to Access Level 3, and the Virtualize button is set to access level 2. If you are already using those access levels for something else you will probably need to change that.
This also means that if you are not using access levels (very common) and everything is left at default access level 1, those 3 buttons will not be visible unless you change the access levels of the buttons or grant users access levels 2 and/or 3. Access levels are designed to control who has access to what. If you are giving your end-user access to the Panel Status Screen you probably want to leave the virtualize button set to an access level they don't have so they don't accidentally take the panel offline. In order to change anything, you will need to set the System Mask for the desired user.
